
Getting Your First Workflow
Your Fuzzball cluster hosts a list of prebuilt Fuzzfile templates in the Workflow Catalog. These templates create the YAML files that define workflows, and they are a quick way to start running work on Fuzzball. Detailed information on developing Fuzzfiles and a complete syntax guide are presented elsewhere.
The workflow in this tutorial prints one integer per second, counting from 1 to 300. It is deliberately simple: it produces output you can retrieve through Fuzzball logging, and its five-minute runtime leaves time to interact with it while it runs. For workflows that solve real problems, see the Workflow Examples section.
Select the tab below for your environment: the web UI or the CLI.
You can use the Workflow Catalog to start quickly with a basic Fuzzball example. The Workflow Catalog has templates that create Fuzzfiles automatically from a workflow template and user-provided parameters. This tutorial uses the Printer template to create a Fuzzfile and run a simple workflow.
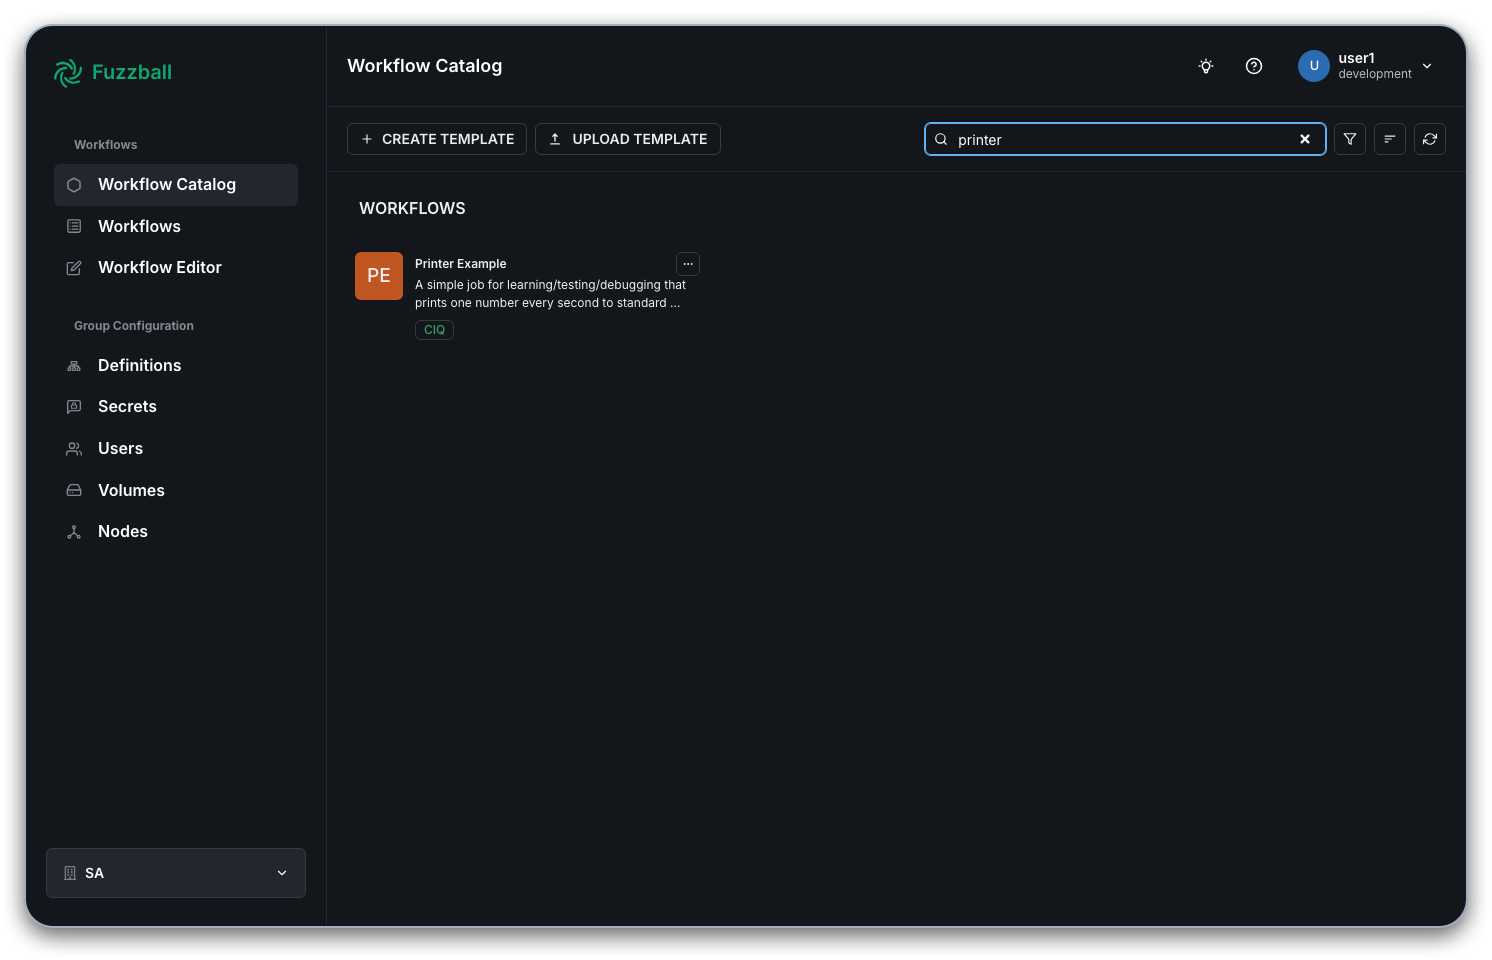
In the Workflow Catalog use the search bar to locate the example named “Printer Example”.
You can see details about the workflow template by clicking on the description box. The Configure panel on the right gives you access to parameters that you can change before rendering the Fuzzfile from the template. Related parameters are grouped into collapsible sections such as CONTAINER and EXECUTION, each labeled with the number of fields it holds. The Printer template allows you to change the container that is used to run the printer job, and the number of seconds that the job runs. Other templates may allow you to change the commands that are run, the resources that are used, and so on.
You can render the workflow template with the parameters you select and open the resulting Fuzzfile in the workflow editor (OPEN IN EDITOR), or run it directly (RUN).
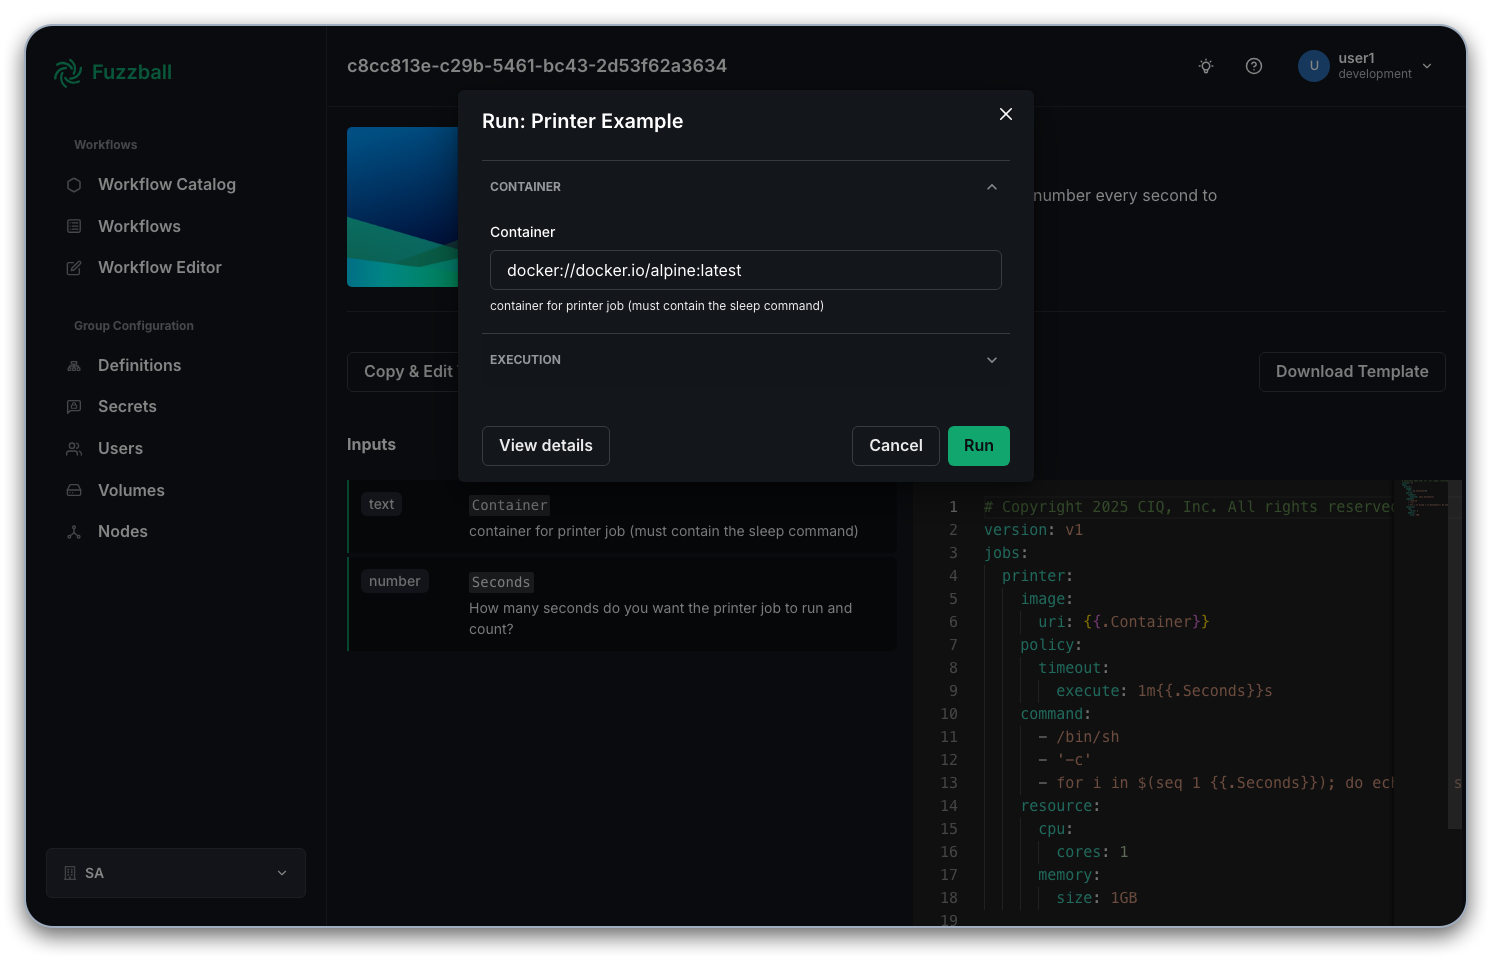
For now, select RUN without changing any defaults. A Fuzzfile will be rendered behind the scenes and checked for valid syntax, and you will be taken straight to the new workflow’s status page, where you can watch it begin to run.
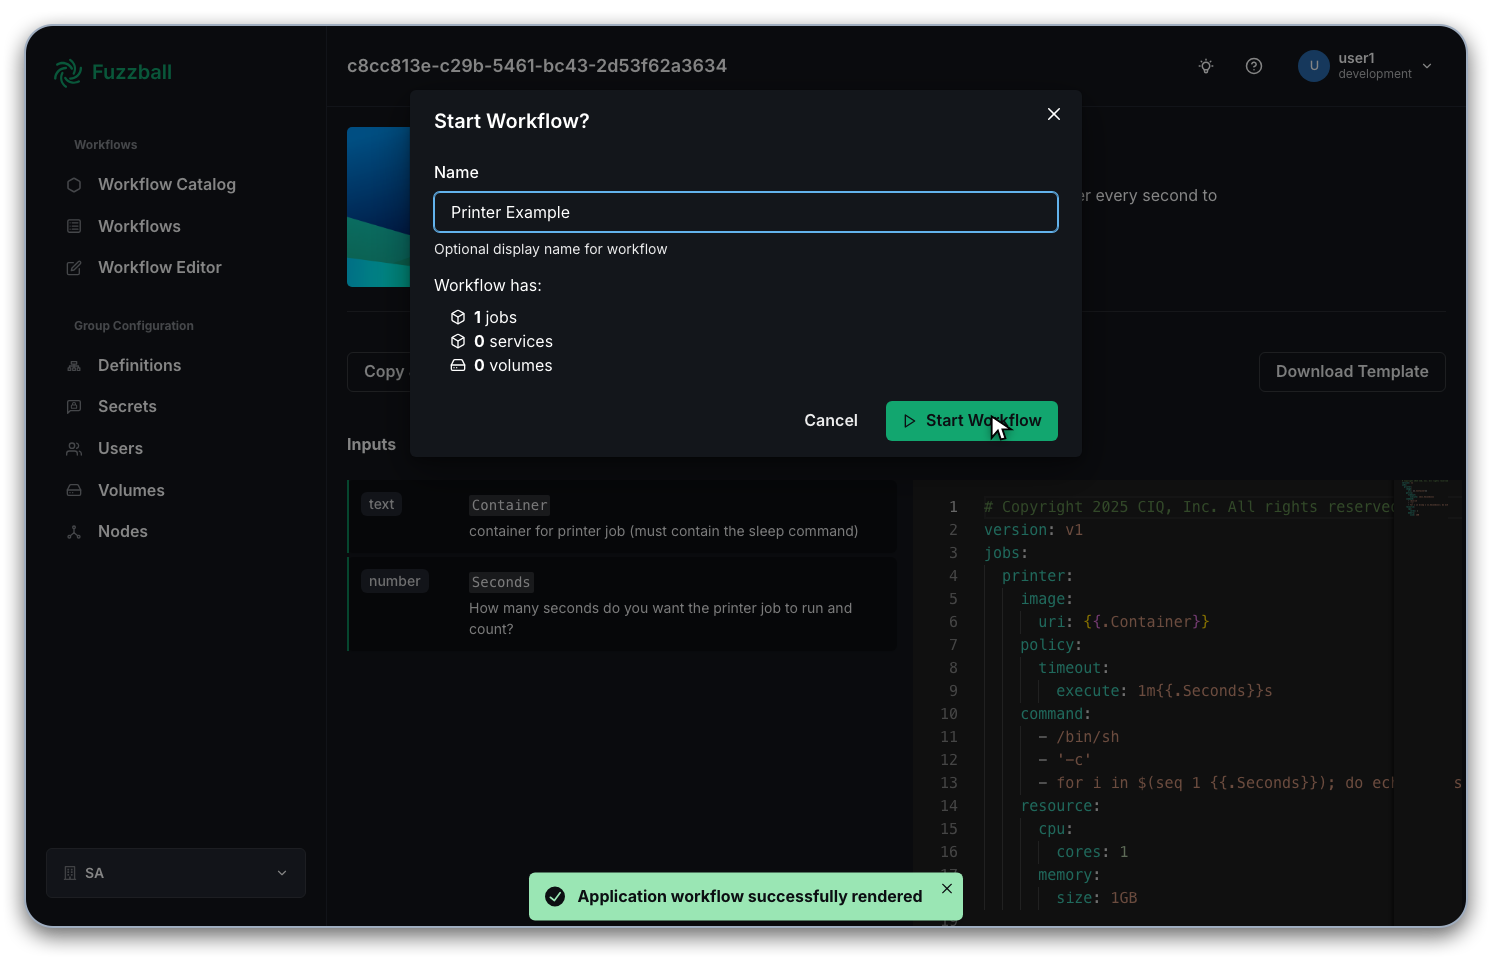
If you followed the instructions on this page, the Printer Example workflow will now be running on your cluster. See the next page for information about running workflows using the Workflow editor, and stopping running workflows.
Building your Fuzzfile outside of the web UI requires only a text editor. First, create a new directory to experiment in:
$ mkdir ~/fb-work

$ cd ~/fb-work
Now copy the contents of printer.fz shown below into a file of that name, using the text editor
of your choice.
version: v4
jobs:
  printer:
    image:
      uri: docker://docker.io/alpine:latest
    policy:
      timeout:
        execute: 6m0s
    script: |
      #!/bin/sh
      for i in $(seq 1 300); do echo $i; sleep 1; done
    resource:
      cpu:
        cores: 1
      memory:
        size: 1GB
The.fzfile extension is not necessary. Fuzzfiles also commonly carry.ymlor.yamlextensions since they are written in YAML.
Fuzzball will automatically check and validate your Fuzzfile for syntax errors when you submit the workflow, but you can do so manually with the following command:
$ fuzzball workflow validate ./printer.fz
"./printer.fz" has been validated.
A Fuzzfile with syntax errors returns an error naming the line and the offending field. For
example, if you change the jobs: key to jerbs: and validate again:
$ fuzzball workflow validate ./printer.fz
while parsing workflow: yaml: unmarshal errors:
line 2: field jerbs not found in type api.WorkflowDefinitionIf you want detailed information about the sections in this Fuzzfile, expand the section below. Feel free to skip it for now if you are just trying to learn how to submit your workflows with Fuzzball.
Default version: New workflows created in the web UI, and templates rendered from the Workflow Catalog, useversion: v4. The example Fuzzfile above uses v4 syntax. For the storage-related changes that came with v4, see the V4 Storage Breaking Changes guide.