
A First Basic Workflow
Let’s create a job that uses a lolcow image
from Docker Hub to run the fortune command and produce
a random fortune/quote/joke. We’ll start by showing the steps to create the most basic
workflow possible and then we will build on that
workflow to create something more complex in later sections.
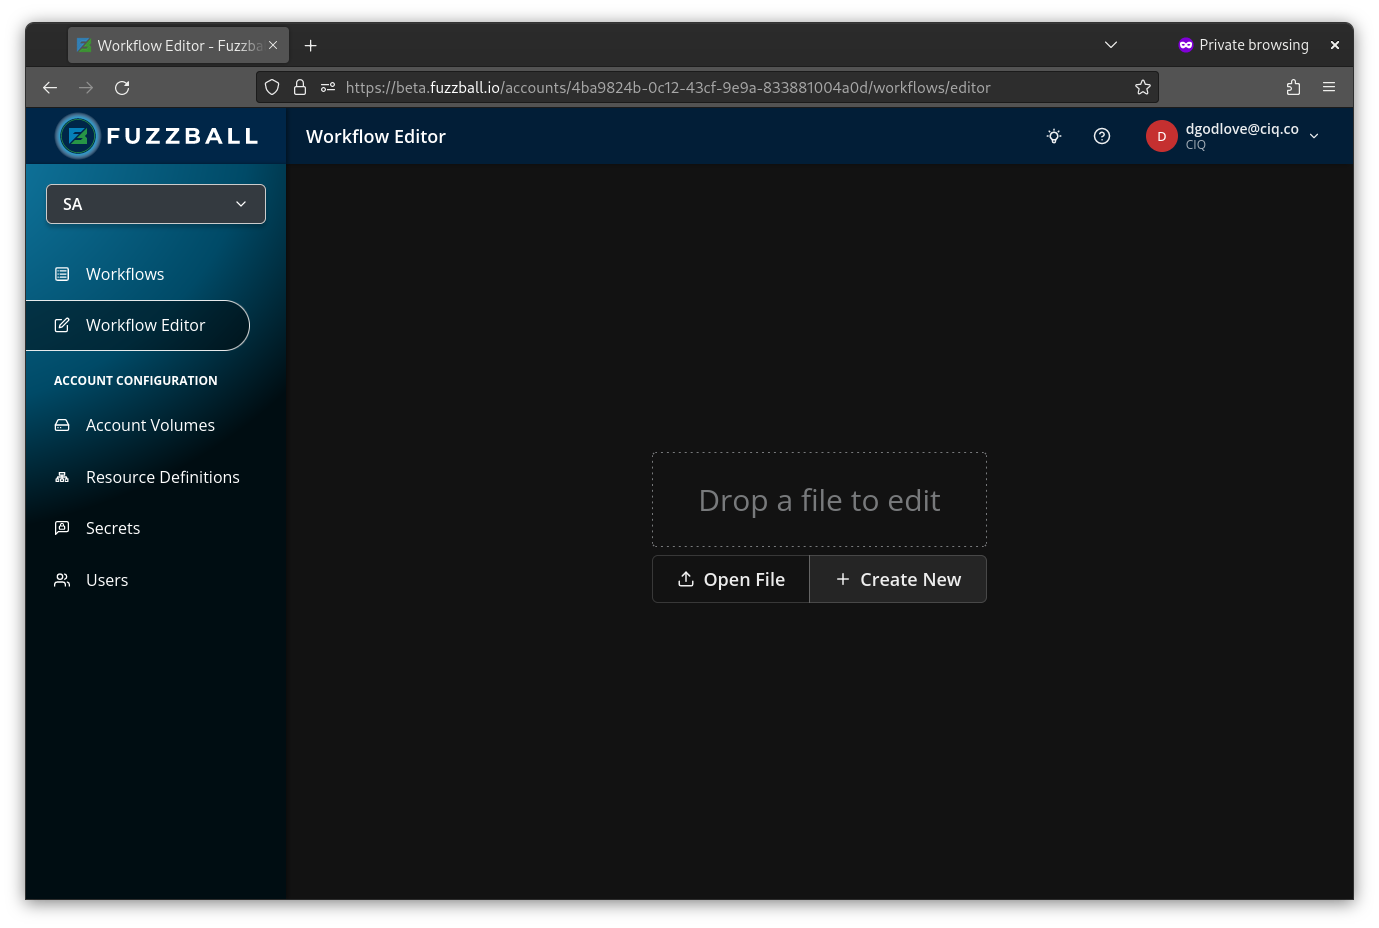
After logging in to Fuzzball, navigate to “Workflows” by clicking the menu item on the left and then select “New Workflow”.
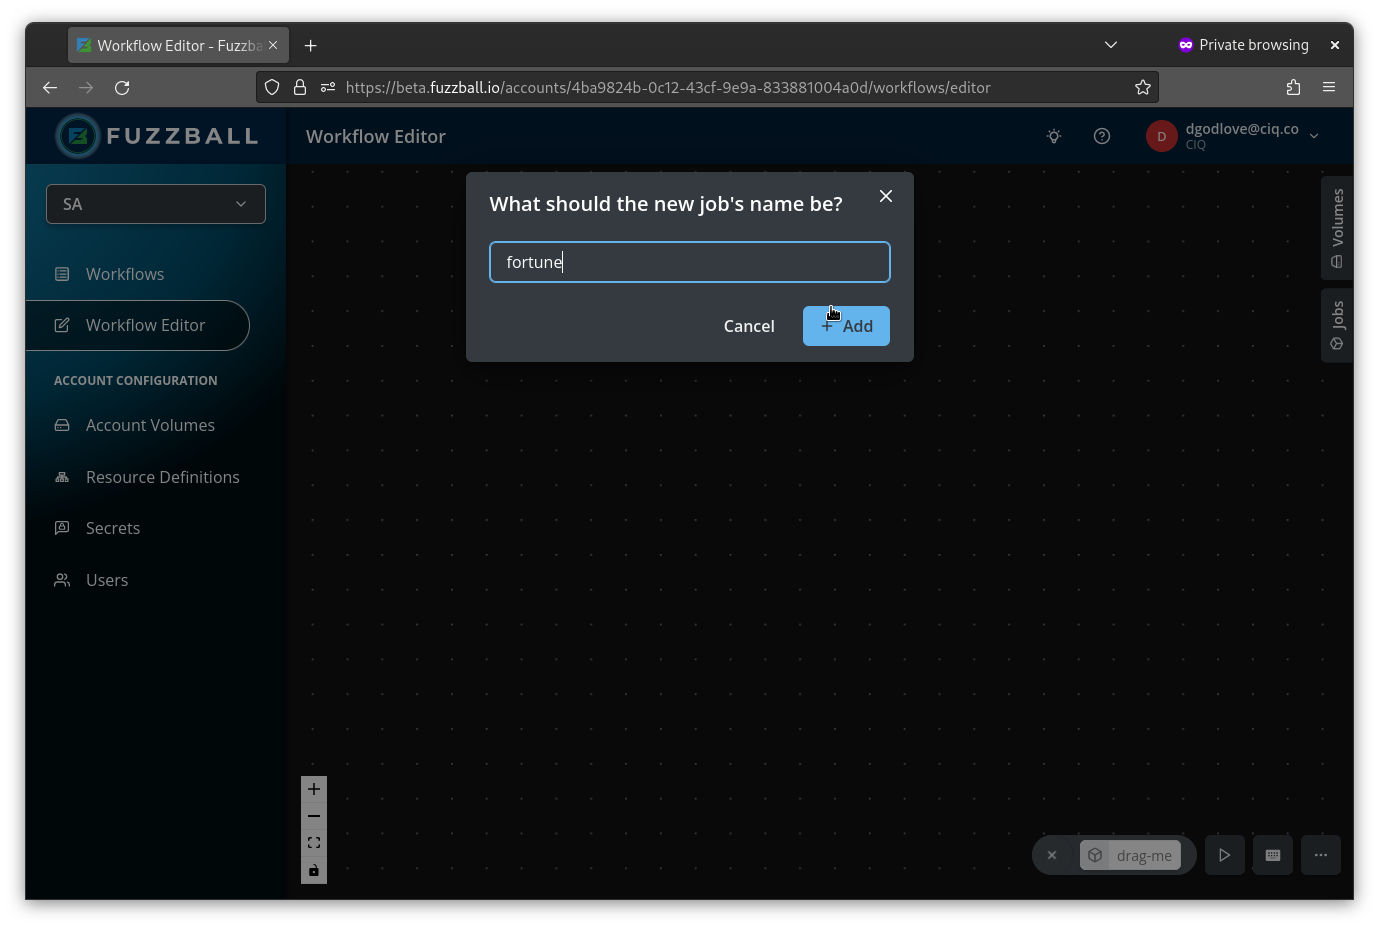
Workflows are composed of 1 or more jobs. So we should start by adding a job to this workflow. Drag a job from the toolbox at the top of the canvas and drop it into the central grid. The new job appears as a card, and you can give it a name in the “Name” field of the panel on the right.
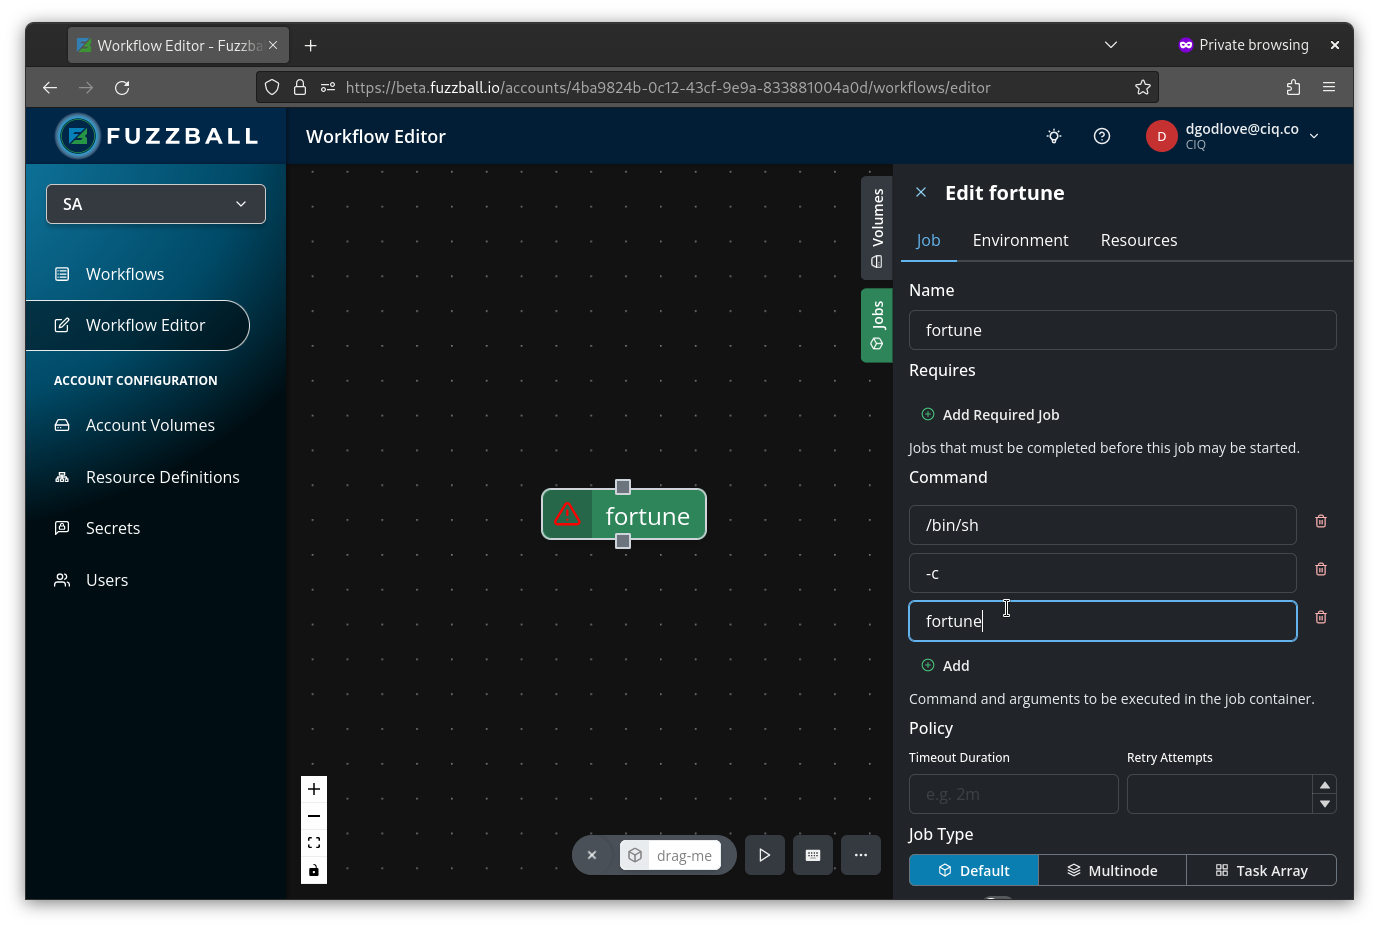
After you do so, you will see a menu with several tabs open to the right.
You can start by adding a script in the “Job” tab. As we said above, we will create a job that
generates text using the Fortune program. So add the fortune command like so:
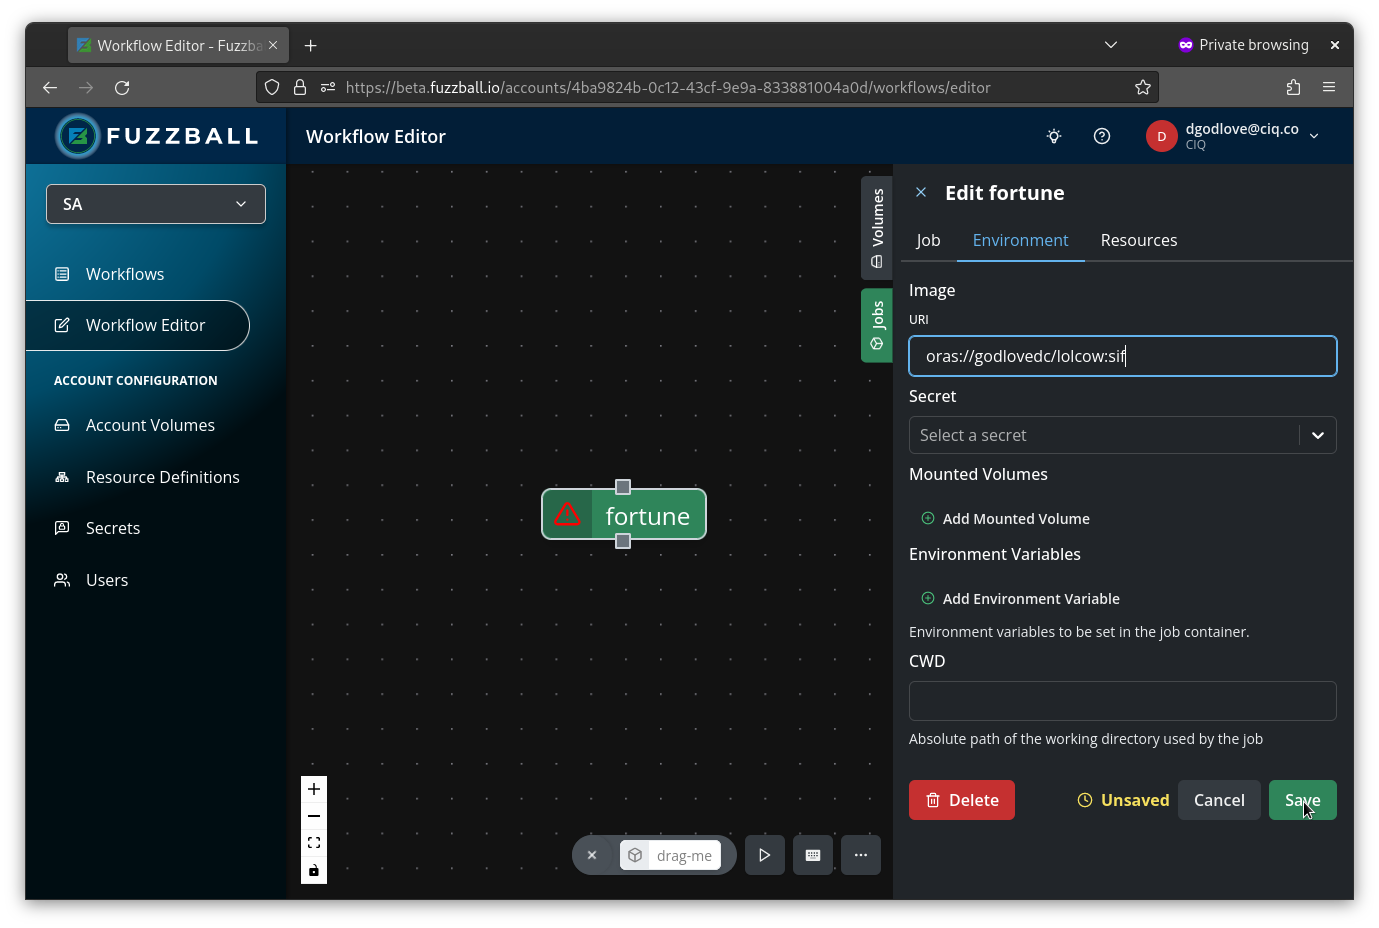
Now you can click on the “Environment” tab to configure the environment that this job will run in.
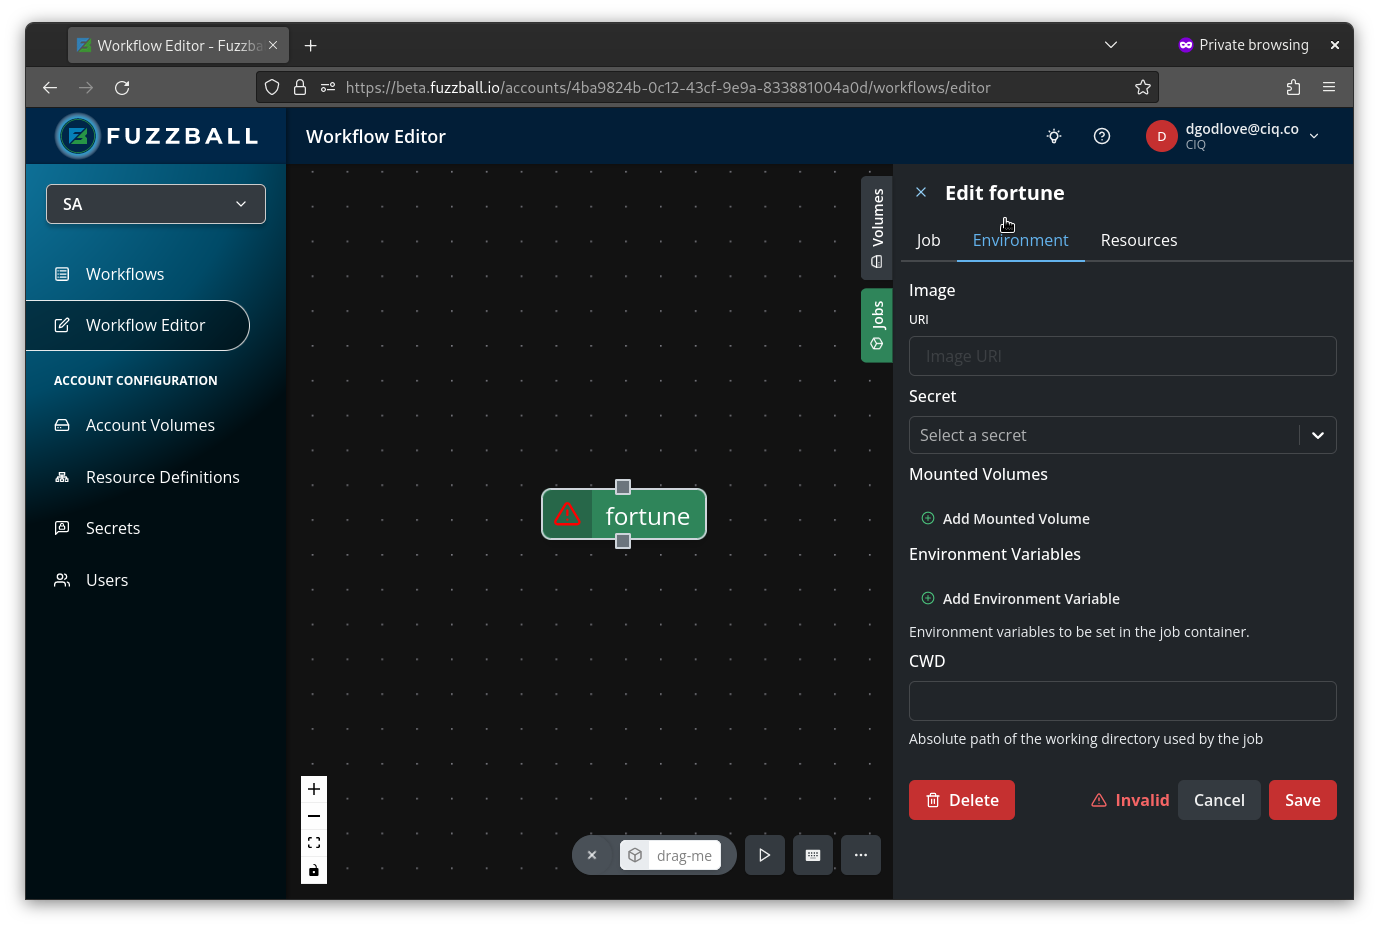
The only thing that you absolutely need to provide is a URI to a container
image that supports your job. Here we will use the famous
lolcow image from Docker Hub because it includes the fortune command. The field also accepts
oras://, fb://, and fuzzball:// URIs for images held elsewhere, including
SIF images.
Enter the following text to pull the correct container:
docker://wresch/lolcow
Now you can click on the “Resources” tab to finish the configuration necessary to run a basic workflow.
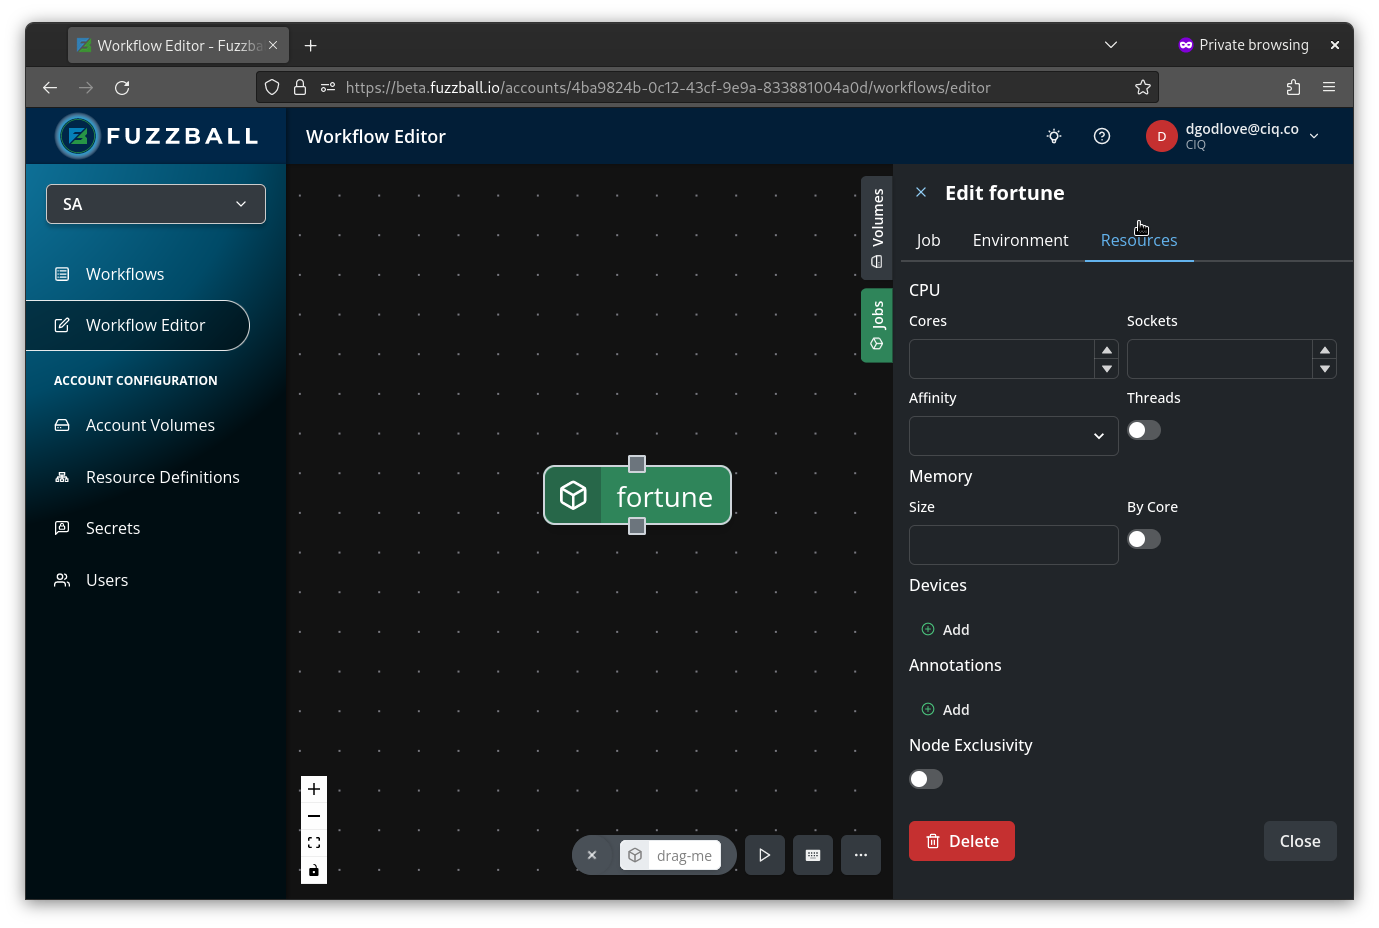
The bare minimum configuration includes a specification for the number of cores and the amount of memory to use. 1 core and 1GB memory will be sufficient to execute the fortune command.
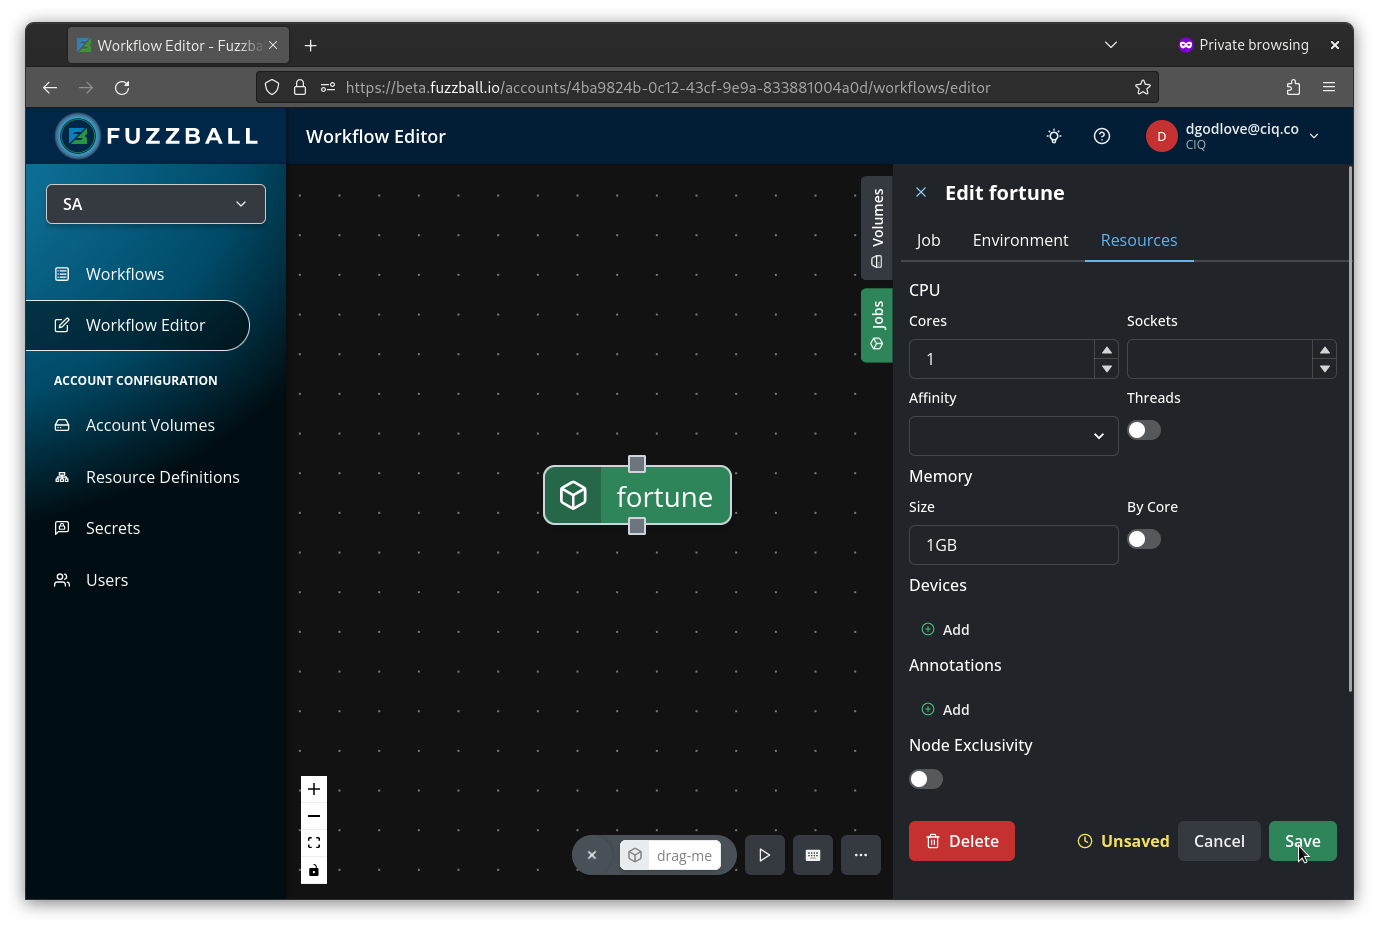
If no units are specified in your memory request, Fuzzball defaults to bytes. You should always specify units for memory requests in the web UI. Units such as GiB, MiB, KiB, etc are preferred. The base 10 equivalents (GB, MB, KB) are also acceptable.
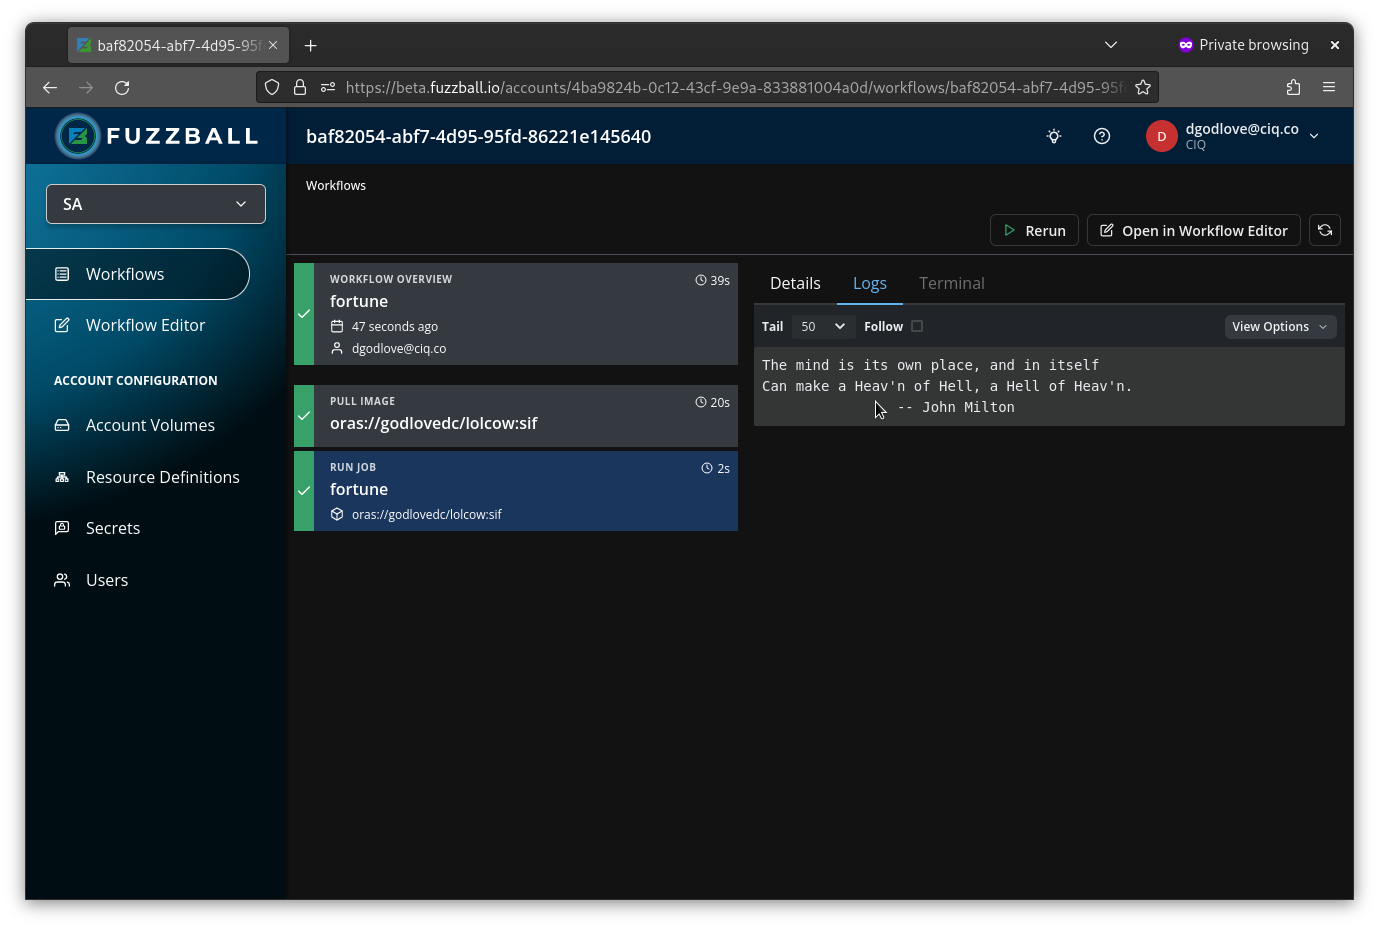
At this point you can run the job with the “Start” button at the top right of the editor. After optionally naming your workflow, you can proceed to the workflow status page. When completed, you will see something like the following:
You can see the Fuzzfile at any time from the Workflow Editor by selecting the “YAML” tab in the panel on the right. On a workflow’s status page, select the Fuzzfile tab in the Workflow Details pane to view the workflow definition as read-only YAML. In the example here, the Fuzzfile that is generated by the Workflow Editor looks like this.
version: v4
jobs:
  fortune:
    image:
      uri: docker://wresch/lolcow
    script: |
      #!/bin/sh
      fortune
    resource:
      cpu:
        cores: 1
      memory:
        size: 1GB
If you want to replicate this or any of the workflows in these examples, but you don’t want to manually recreate them using the Workflow Editor, you can always copy and paste this text into a file and open the file in the Workflow Editor. Or you can just press “e” to open the text editor window in the Workflow Editor and paste in this text!
The next section will expand on this basic Fuzzfile to create a workflow that runs multiple jobs (with dependencies) and adds a Storage Volume to share data between jobs.
New workflows created in the Web UI default toversion: v4. This guide reflects v4 syntax. If you seeversion: v4at the top of your Fuzzfile in the Workflow Editor, you’re using the current recommended syntax. For information on v3-to-v4 differences, see the V4 Breaking Changes guide.
When writing simple shell commands like this, you can omit the shebang line and Fuzzball will assume#!/bin/sh. For scripts requiring bash-specific features or other interpreters, include an explicit shebang like#!/bin/bashor#!/usr/bin/python3.